

原腳本為海棠設計,我進行完整化的動作
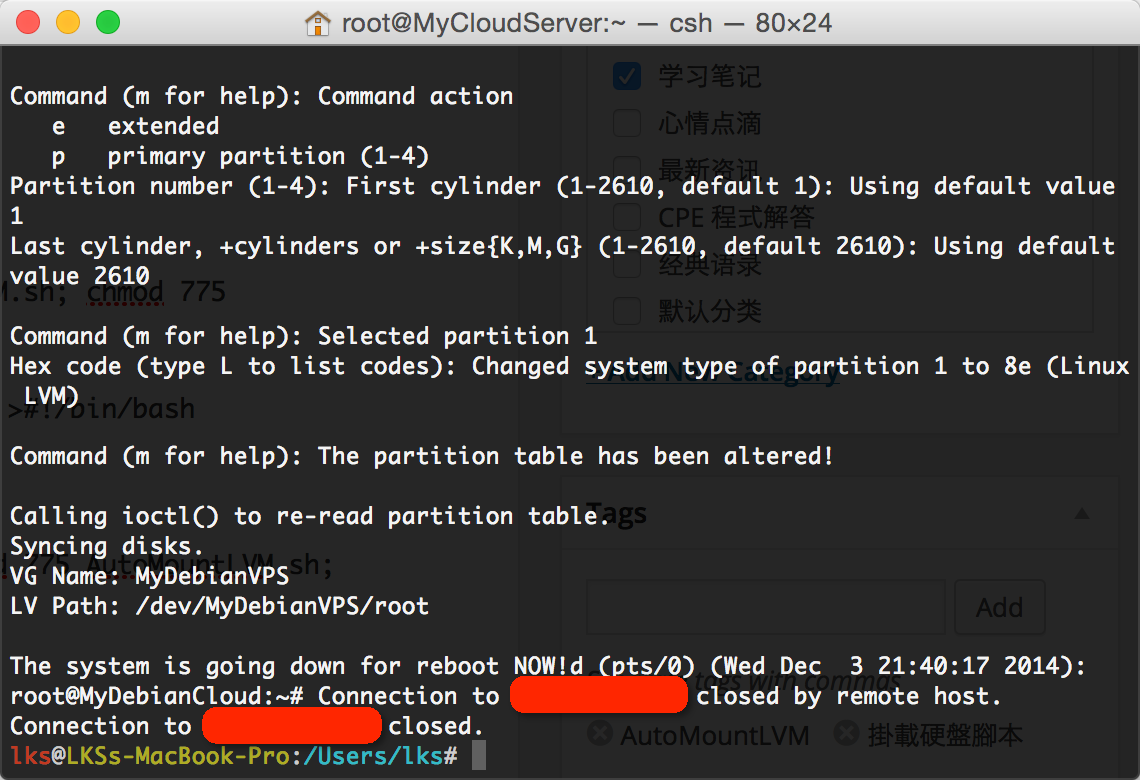
腳本運行后會進行重啟的動作
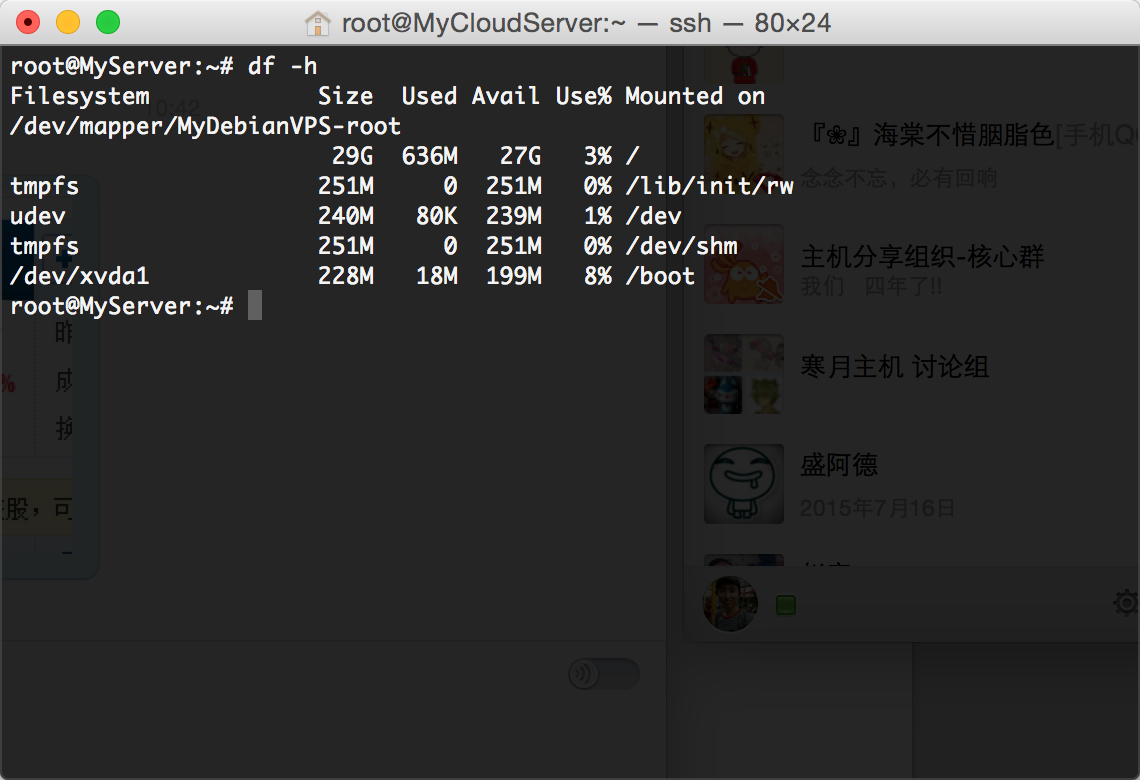
並在開機后自動進行動態擴容
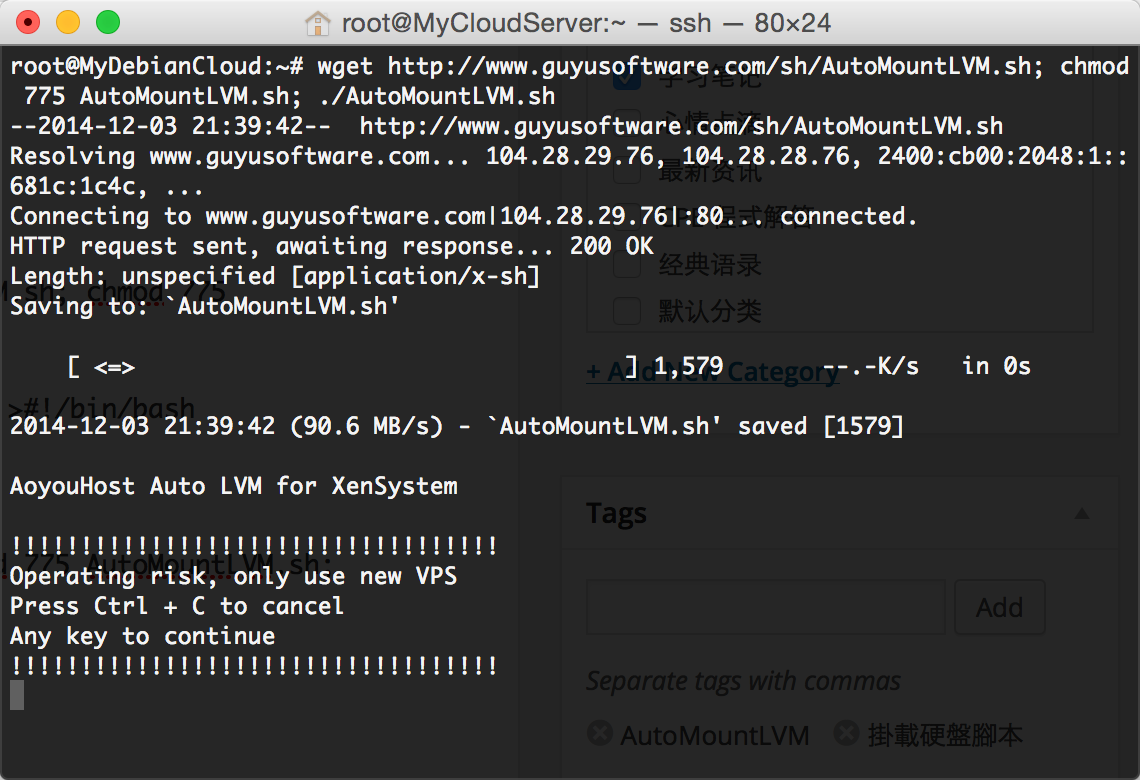
腳本運行的情況如前面兩張圖所示 第三張為結果圖
一鍵運行自動lvm方式掛載硬盤腳本:
wget https://www.guyusoftware.com/sh/AutoMountLVM.sh; chmod 775 AutoMountLVM.sh; ./AutoMountLVM.sh
腳本內容如下:
# AutoLVM for XenSystem
# Powered Aoyouhostclear
echo
echo “AoyouHost AutoLVM for XenSystem”
echo “!!!!!!!!!!!!!!!!!!!!!!!!!!!!!!!!!!!”
echo “Operating risk, only use new VPS”
echo “Press Ctrl + C to cancel”
echo “Any key to continue”
echo “!!!!!!!!!!!!!!!!!!!!!!!!!!!!!!!!!!!”
read -n 1disk=`fdisk -l | grep “/dev/sdb”`
if [ -z “$disk” ]; then
disk=”/dev/xvdb”
else
disk=”/dev/sdb”
fi# partition disk
fdisk $disk < /root/_AutoMountLVM.sh
echo ‘# Auto LVM for XenSystem’ >> /root/_AutoMountLVM.sh
echo ‘# Powered by Aoyouhost’ >> /root/_AutoMountLVM.sh
echo ‘cat /etc/rc.local.backup > /etc/rc.local’ >> /root/_AutoMountLVM.sh
echo ‘rm -f /etc/rc.local.backup’ >> /root/_AutoMountLVM.sh
echo ‘pvcreate ‘$disk’1’ >> /root/_AutoMountLVM.sh
echo ‘vgextend ‘$vgName’ ‘$disk’1’ >> /root/_AutoMountLVM.sh
echo ‘lvresize -l +100%FREE ‘$lvPath >> /root/_AutoMountLVM.sh
echo ‘resize2fs ‘$lvPath >> /root/_AutoMountLVM.sh
echo ‘rm -f /root/*Auto[MT]*.sh’ >> /root/_AutoMountLVM.sh
cp /etc/rc.local /etc/rc.local.backup
cp /etc/rc.local /etc/rc.local.temp
sed -i ‘/exit 0/d’ /etc/rc.local.temp
cat /etc/rc.local.temp > /etc/rc.local
rm -f /etc/rc.local.temp
echo ‘bash /root/_AutoMountLVM.sh’ >> /etc/rc.local
echo ‘exit 0’ >> /etc/rc.local
chmod 755 /root/_AutoMountLVM.sh
reboot
經測試可完美運行的版本:
CentOS 5 x86
CentOS 6 x86
CentOS 6 x64
Debian 6 x86
Ubuntu 10 x86
此腳本針對雲谷XenSystem的模板進行設計
按理支持所有採用雲谷XenSystem模板的vps
適用於第二顆硬盤名字為xvdb和sdb的vps